
When you drive regularly, you know what feels normal while driving and what doesn’t. When your steering wheel begins to vibrate or shake at an unusual rate, this could be a sign that something is wrong with your vehicle. A shaking steering wheel may be caused by a variety of underlying issues. In this article, […]
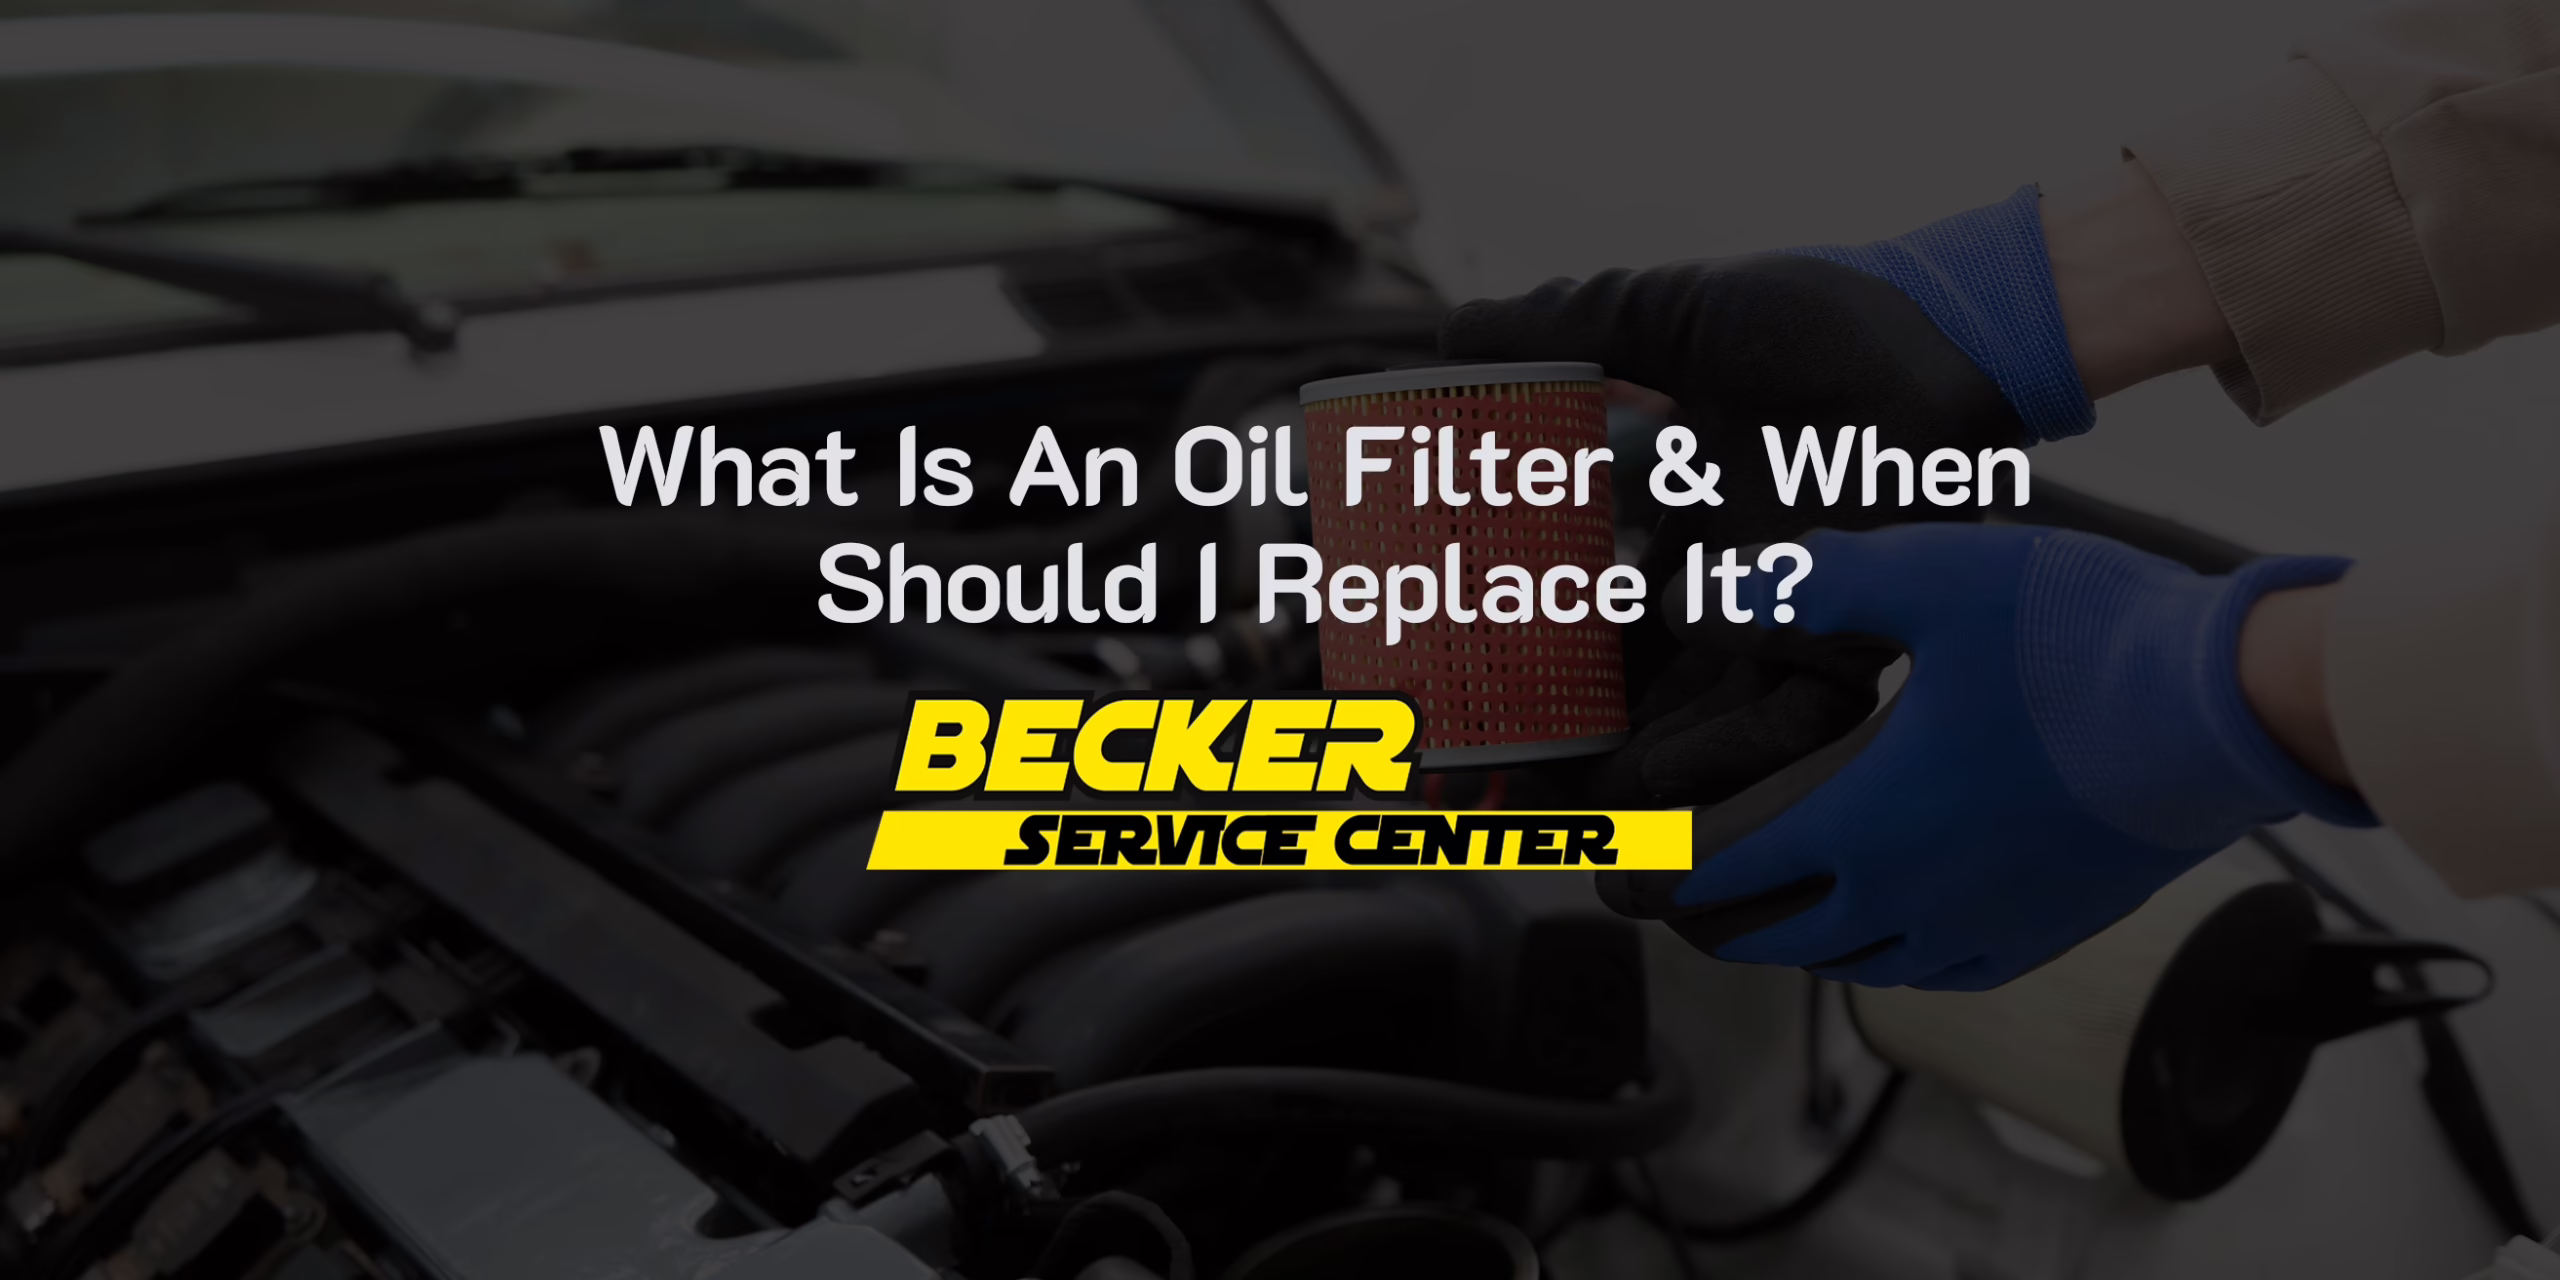
Oil filters play a crucial role in maintaining the health of your vehicle’s engine. An oil filter’s efficiency directly impacts engine performance. When oil is contaminated with impurities, its lubricating properties are compromised, leading to increased friction and wear. To function properly, the engine needs efficient oil filtration to stay in peak condition. In this […]

Is your automatic transmission shifting poorly or not shifting at all? Modern cars utilize sophisticated automatic transmissions to provide a smooth and efficient driving experience. When something malfunctions within the transmission the result can be very frustrating. However, when your car struggles to shift gears, it is more than just an inconvenience, it is a […]

A brake fluid leak is nothing to ignore. Your vehicle’s brake system relies on brake fluid to operate. Without fluid in the master cylinder, your brake system and brake pedal could essentially become useless, creating a dangerous driving situation for you and those around you. What Does Brake Fluid Do? When you step on the […]

Unlike conventional automatic transmissions that shift between fixed gear ratios, a continuously variable transmission (CVT) uses a system of belts or chains and pulleys that can adjust to an infinite number of effective gear ratios. Think of it as having one smooth, continuous gear rather than 5, 6, or even 10 distinct gears. Traditional automatics […]